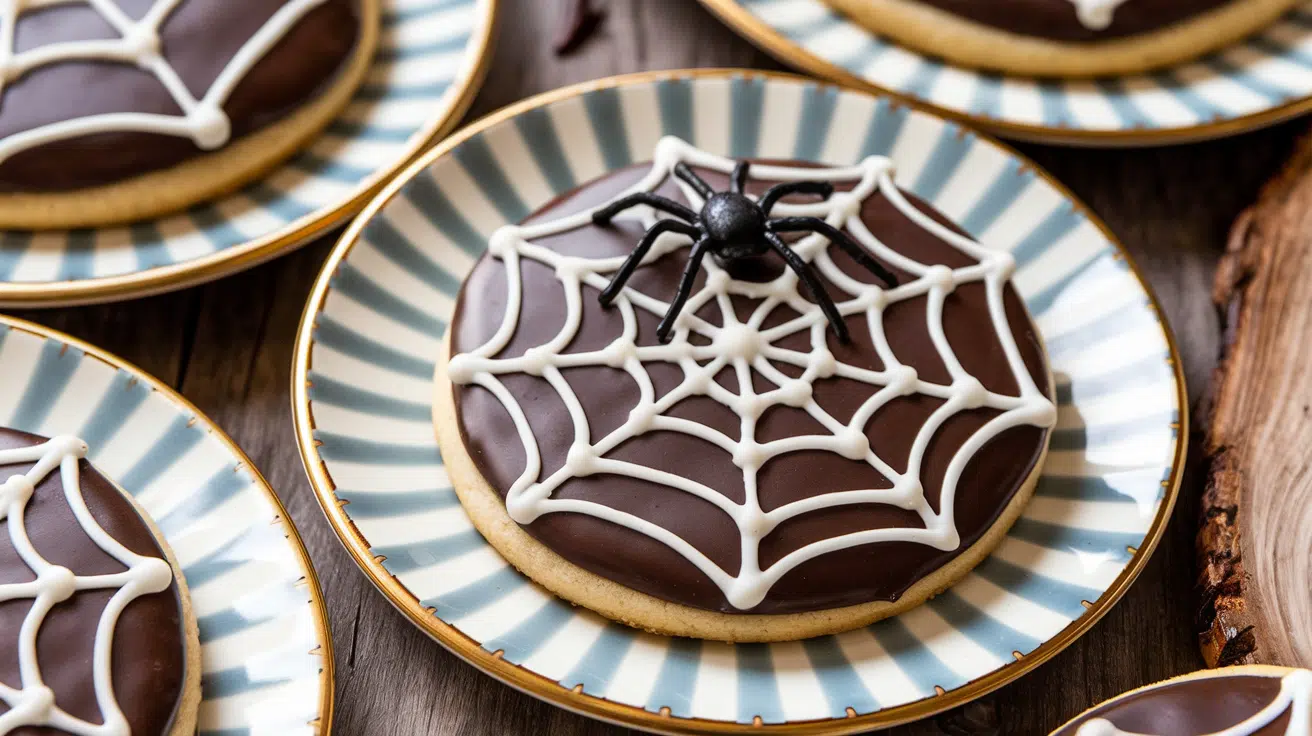
Halloween is all about treats, and these Spiderweb Cookies are as festive as they are delicious. Soft, chocolatey cookies topped with a spiderweb design made from icing are perfect for parties, trick-or-treaters, or a fun baking project with the kids. With minimal effort and maximum spooky vibes, these cookies will be a hit with goblins and ghouls of all ages.

You Do It All. And Nobody Even Notices.
You’re exhausted but you can’t explain why. This free kit finally gives you the answer.
Ingredients
For the Cookies:
- 1 cup all-purpose flour
- ½ cup unsweetened cocoa powder
- ½ teaspoon baking soda
- ¼ teaspoon salt
- ½ cup unsalted butter (softened)
- ½ cup granulated sugar
- ½ cup brown sugar
- 1 large egg
- 1 teaspoon vanilla extract
For the Spiderweb Icing:
- 1 cup powdered sugar
- 2-3 tablespoons milk or water
- 1 teaspoon vanilla extract
- Black food coloring
Preparation Tips
• Chill the dough: Refrigerating the dough for at least 30 minutes makes it easier to shape and ensures the cookies don’t spread too much.
• Use piping bags: For neat spiderweb designs, use a piping bag with a fine tip. If you don’t have one, a resealable plastic bag with the corner snipped works too.
• Get creative: Add candy spiders or sprinkles for an extra spooky touch.
Step-by-Step Instructions
Step 1: Make the Cookie Dough
In a medium bowl, whisk together the flour, cocoa powder, baking soda, and salt. In a separate large bowl, beat the butter, granulated sugar, and brown sugar until creamy. Add the egg and vanilla, mixing until smooth. Gradually add the dry ingredients to the wet ingredients, stirring until combined. Cover and refrigerate the dough for 30 minutes.
Step 2: Shape and Bake
Preheat your oven to 350°F (175°C). Line baking sheets with parchment paper. Roll the chilled dough into 1-inch balls and place them 2 inches apart on the prepared sheets. Flatten slightly with the palm of your hand. Bake for 8-10 minutes, then cool completely on a wire rack.
Step 3: Make the Icing
In a small bowl, whisk together the powdered sugar, milk, and vanilla until smooth. The icing should be thick but pipeable. Transfer half to a separate bowl and tint it black with food coloring.
Step 4: Decorate the Cookies
Spread a thin layer of white icing over each cookie. Using a piping bag, draw concentric circles of black icing on top. Drag a toothpick from the center to the edge to create the spiderweb effect. Repeat for all cookies and let the icing set before serving.
Make-Ahead & Storage
The cookies can be baked up to 2 days in advance and stored in an airtight container at room temperature. Decorate them the day of serving for the freshest look. Leftovers can be kept in a container for up to 5 days.
Serving Suggestions
Arrange these cookies on a platter with other Halloween treats for a spooky dessert table. Serve with a glass of milk or a cup of hot cocoa for the perfect pairing. For an extra frightful touch, scatter plastic spiders or cobweb decorations around the serving area.
Conclusion
These Halloween Spiderweb Cookies are the perfect treat to get into the spooky spirit. Easy to make, fun to decorate, and irresistibly chocolatey, they’re a must-have for any Halloween celebration. Try them out and enjoy the sweet thrills of the season. Explore more holiday recipes on Cozy Cadence to keep the festive fun going.